Sponsored article
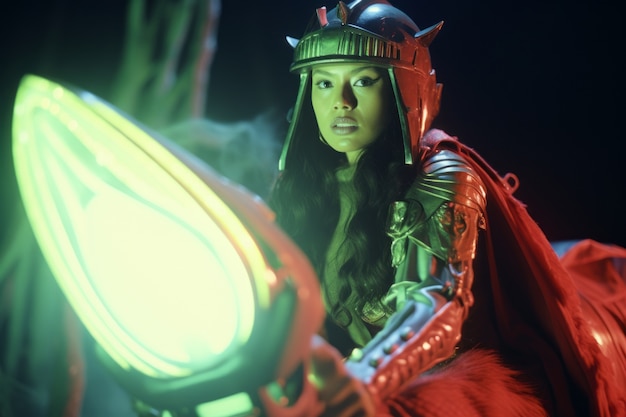
Unleash the full potential of your D&D campaigns by crafting bespoke heroes using 3D printing technology. From selecting the perfect 3D printer and mastering intricate design software to putting the final painterly strokes on your figurines, this guide provides an all-encompassing journey into the art of 3D printing custom characters. Elevate your tabletop adventures and ensure every game is played with heroes crafted to reflect your unique vision and storytelling ambitions.
Choosing the right 3D printer for your projects is crucial when aiming to craft those perfect miniatures for your D&D campaign. The world of 3D printer selection offers a variety of models, each suited for specific needs. If you’re seeking the best 3D printers for miniatures, consider those designed with high resolution and precision in mind. Here’s a brief printer comparisons guide:
Understanding the different features will ensure you choose a 3D printer that matches the demands of your miniature-making ventures.
Embarking on the journey of designing your D&D character with 3D modeling software can be both exhilarating and daunting. With an array of software options available, finding the right tool is crucial for bringing your hero to life. Consider user-friendly platforms like Tinkercad for beginners or delve into more advanced software such as Blender and ZBrush for intricate detail work. These 3D modeling software options cater to varying skill levels, ensuring you can achieve your ideal level of detail and realism. One of the key design tips is to start with a clear concept or sketch of your character to guide the creation process. Pay special attention to proportions and anatomy, ensuring your model embodies the heroic essence you envision. Utilize shaders and textures to add depth, making the armor gleam or the wizard’s robes flow realistically. Additionally, incorporating tiny details such as facial expressions and accessories adds a personal touch, crafting a character that stands out in any adventure. Let this creative process enhance your storytelling by creating unique, epic models ready for 3D printing and hours of gameplay.
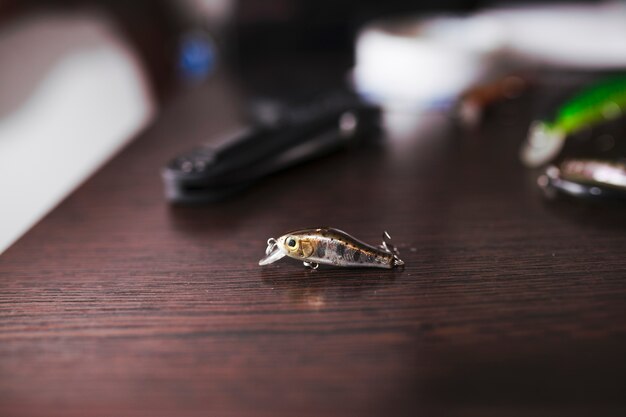
The final phase of creating your bespoke D&D heroes involves adding those essential finishing touches, specifically through careful painting and assembling your 3D printed miniatures. Start by experimenting with various painting techniques such as dry brushing, washing, and layering to bring out intricate details and add depth to your miniature. Prioritize using a primer as the base coat to ensure your chosen colors adhere flawlessly to the plastic. Alongside painting, employ precise assembly tips; sand and test fit parts before final bonding to ensure seamless joins, fostering both durability and aesthetic appeal. Emphasize miniature customization by incorporating personal elements like unique insignias or color schemes that reflect your character’s lore or alignment. Consider adding additional finishing details, such as basing your model with scenic elements like grass, rocks, or debris to render a dynamic scene. These meticulous steps culminate in a personalized miniature ready to enhance your tabletop campaigns and immerse players in epic adventures.